
|
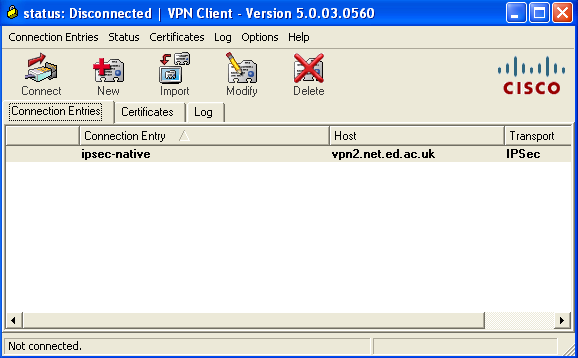
From the start menu, select Programs then Cisco Systems VPN Client then VPN Client This will bring up the window shown in Fig 1 Click New to bring up Fig 2 |
|
| Fig 1 VPN Client control window | |
|
Supply a name for the Connection Entry and optionally a description The Host address is vpn2.net.ed.ac.uk Enter your group name and password These can be found by visiting https://vpnreg.ucs.ed.ac.uk/ease/ipsecgroup.cgi (Note that this is EASE protected). Ensure Certificate Authentication is unchecked Click Transport to bring up Fig 3 |

|
| Fig 2 Create New VPN Connection Entry | |
|
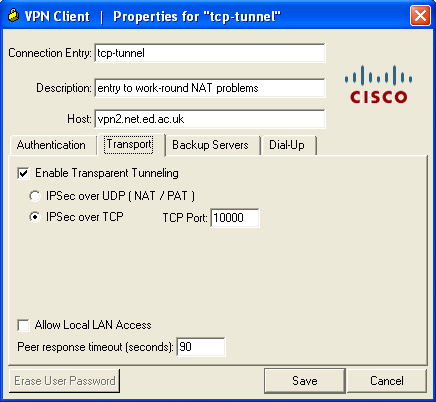
Ensure Enable Transparent Tunneling is checked Select IPSec over TCP (This is not the default) Ensure TCP Port is 10000 (This is the default) Note: TCP tunnelling has been found to work in situations where UDP tunnelling fails. Therefore you should select TCP tunnelling. Click Save Fig 1 should now look like Fig 4 |
|
| Fig 3 Transport Values window | |
|
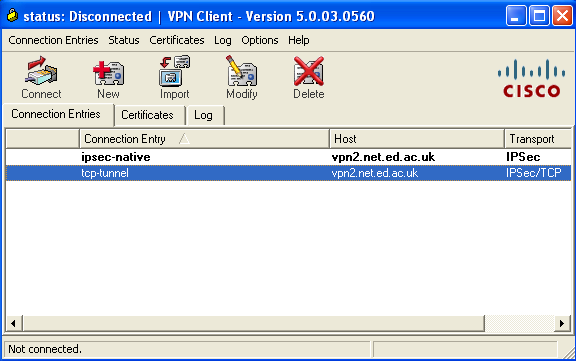
Select tcp-tunnel Click Connect to initiate a connection If a connection is made and the group username and password are correct, a window (Fig 5) will appear asking for your Username and Password. |
|
| Fig 4 | |
|
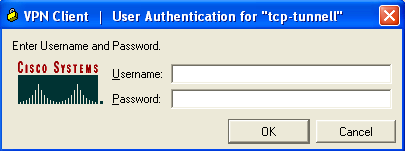
Enter your Universal Username and the password you specified when you registered for the VPN service. |
|
| Fig 5 | |